
Default WSL Settings
By default, WSL only uses 50% of the available server resources. Many times this must be modified in order to allow your WSL based APP to fully consume all of the resources in order to run efficiently. In this guide we will show you exactly how to do this.
When Should I Modify Resources
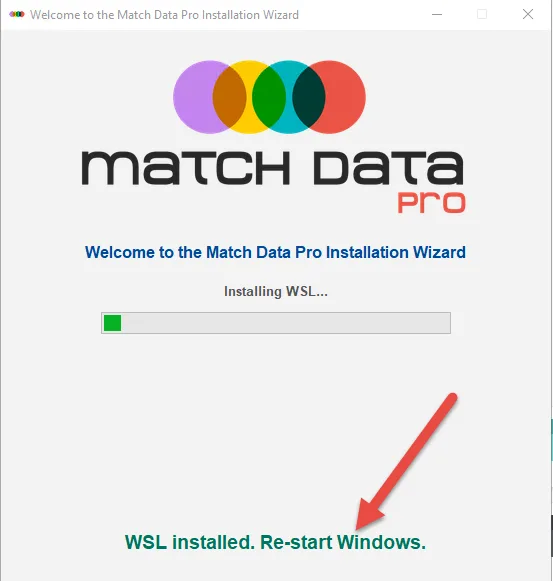
When installing Match Data Pro, if you have not already installed WSL, our installer will do this for you. When you see the image above, you should open prepare to modify the resources.
Start by Modifying Virtual Memory
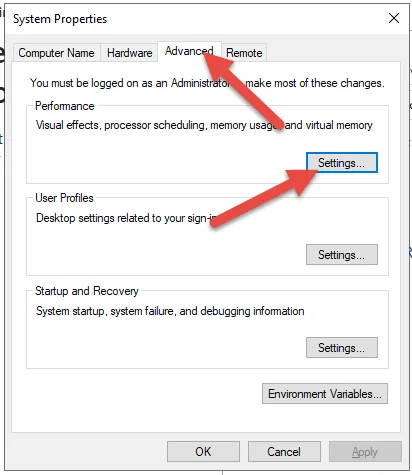
Before we modify WSL resources, lets take a look at Windows Virtual Memory (Pagefile),
- press Windows + R (to open the run window)
- type in sysdm.cpl and press enter
- You will see the following
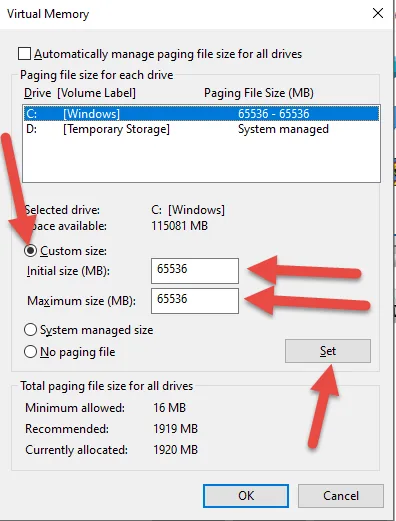
- Click the Custom Size radio button
- Enter a value in increments of 1024 (1GB)
- For example 64Gb would be 65536 (1024×64)
- Make the Initial size and Maximum size the same
- Click Set and then OK
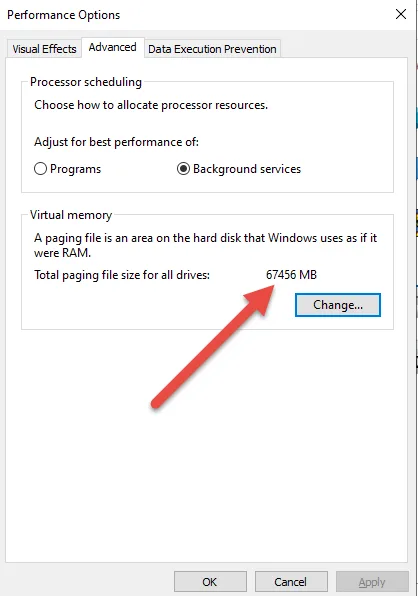
- You will see a value similar to what you set, this is OK
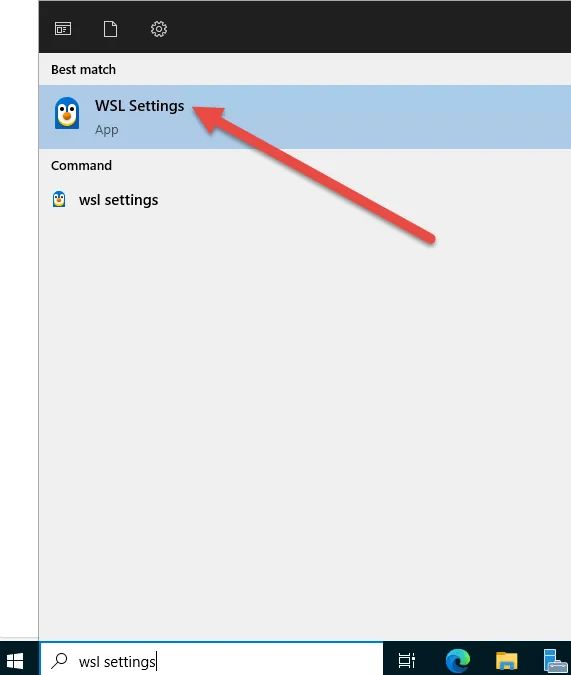
Modify WSL Settings
- Click the Start (Windows) Button
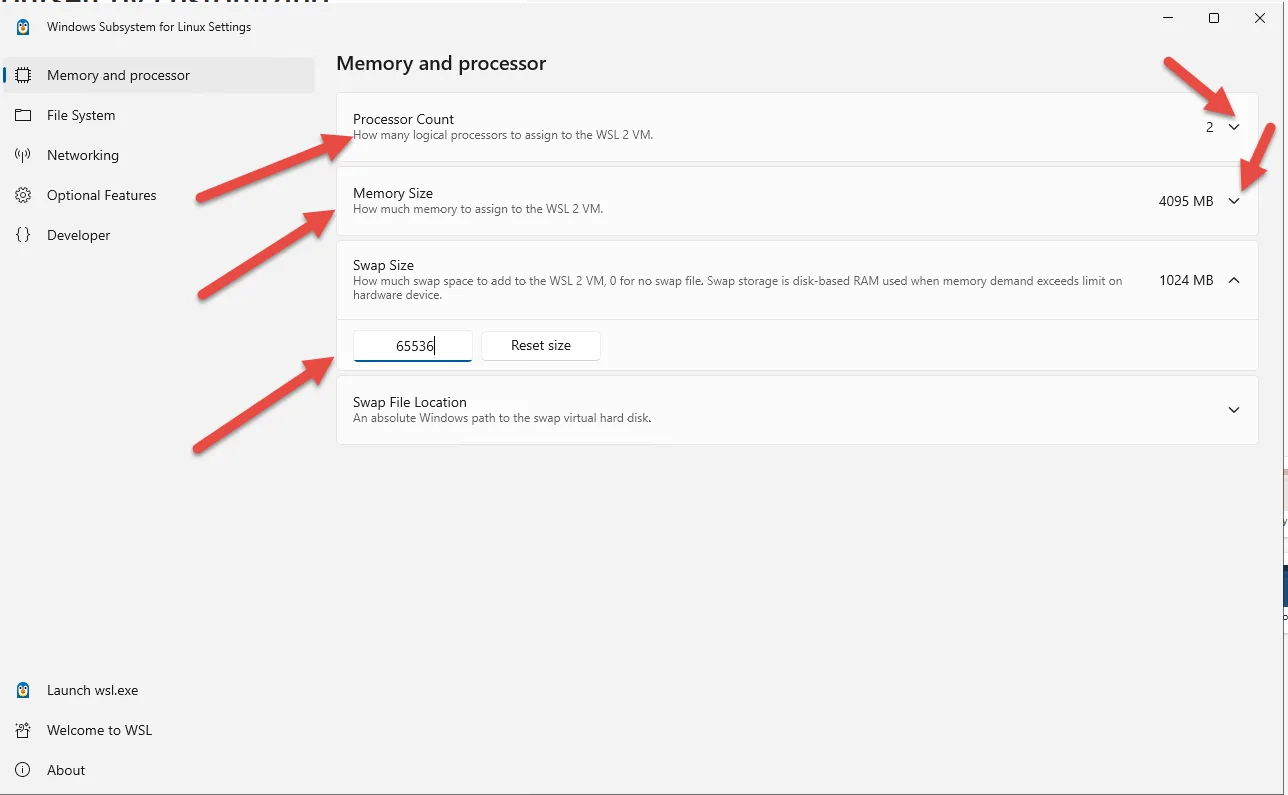
- Change the Processor Count to the number of Cores you have on your Server.
- Change the Memory Size to 80% of the Physical RAM on the Server.
- Change the SWAP Size to the same amount you defined in the last step in the Virtual Memory step.
- When you have finished you mayclose this window and REBOOT Windows.